Integration with Microsoft SharePoint offers far more than simple delivery of documents to a SharePoint document library. In addition to document delivery, you can also populate document library columns with metadata assigned to each document.
How to configure the SharePoint destination
-
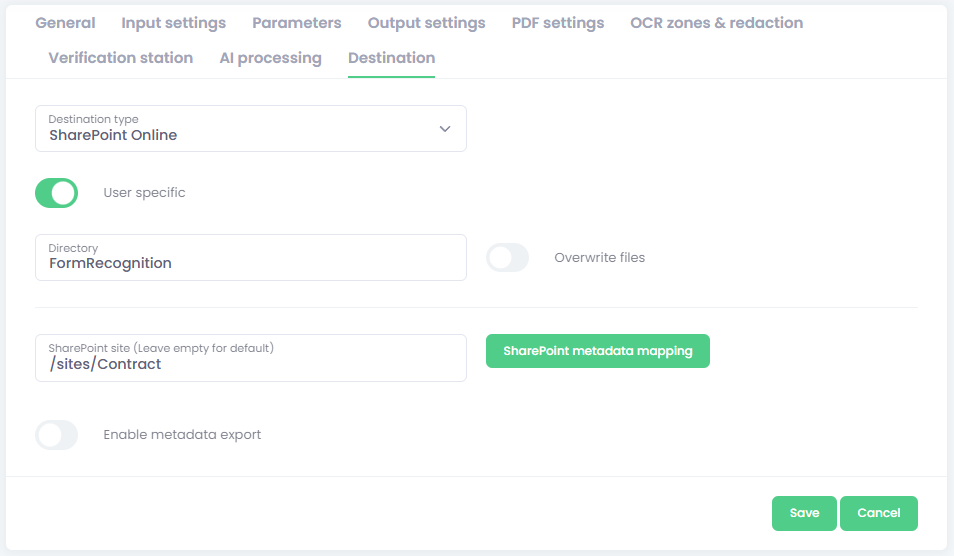
Select the SharePoint Online destination type.
-
Fill required settings:
-
Enter parameter configuration:
-
User-specific - Check whether the delivery should be user‑specific or global.
The user‑specific option requires the user to authenticate in OptimiDoc Digital Workspace to access OptimiDoc Cloud at their destination.
Global authorisation requires an administrator to grant access from the Document Workflow list. -
Directory - Specify the final document directory.
You can use parameters to dynamically create the final folder.
The special ‘Directory’ parameter can be used to enable folder‑browsing functionality on MFP or mobile devices. -
Overwrite files – enable this option to replace an existing file in the destination if it has the same name.
If the option is disabled, OptimiDoc Cloud will add a suffix to the document name, such as _001, to avoid overwriting. -
SharePoint Site - the name of the SharePoint Site, only the part of the URL with the site, e.g./sites/CompanyPortal.
-
-
Use the site URL, not a document or folder URL
-
The site URL usually ends with:
-
/sites/<SiteName>or -
/teams/<SiteName>
-
-
Do not include:
-
/Shared Documents -
/Forms/AllItems.aspx -
individual file paths
-
-
-
The special ‘SharePointSite’ parameter can be used to enable site selection on MFP or mobile devices.
If you leave the parameter empty, the user’s default site is used. -
SharePoint metadata mapping - enables the configuration and transfer of metadata from OptimiDoc Cloud parameters to SharePoint. A detailed description can be found in the chapter below.
-
Enable metadata export – activate this option to save a metadata file alongside the document.
Configuration of metadata files is described here: Metadata export .
-
Metadata mapping
-
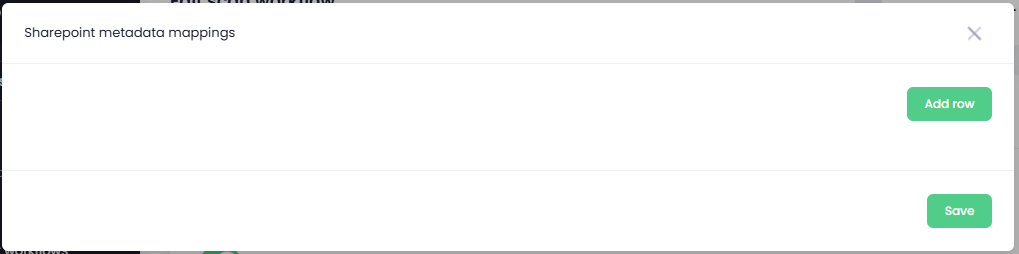
To transfer OptimiDoc Cloud parameters to SharePoint, click the SharePoint Metadata Mapping button.
-
A new pop‑up window for configuring individual metadata appears.
-
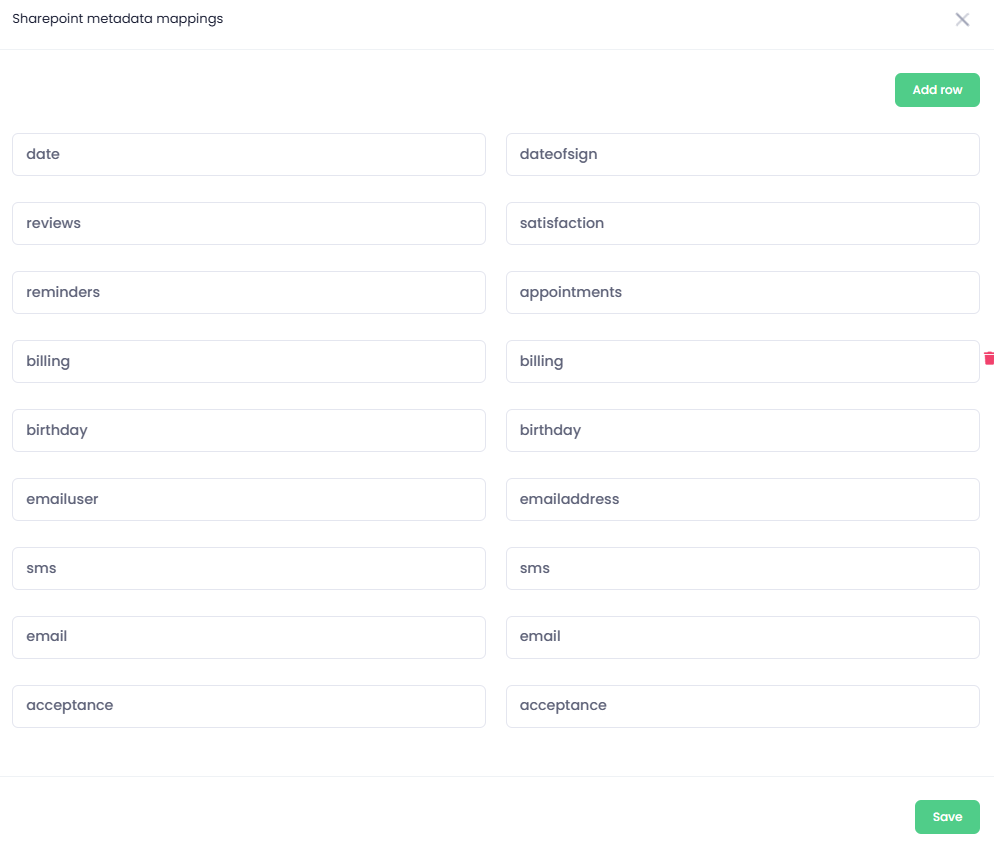
Click Add row to create a new mapping between an OptimiDoc parameter and SharePoint document metadata.
-
Fill in the information for the specific parameter:
-
Key - parameter key value.
-
Custom export name – the name of the column or metadata field in the SharePoint document library. To obtain the correct name, refer to the chapter below.

-
To add more parameters, repeat the steps above. To remove a parameter, click the button

-
Click Save to confirm the configuration.
How to get a column name in a SharePoint document library
In SharePoint, each column has two relevant names:
-
Display name – the name shown in the SharePoint UI
-
Internal name – the technical name used for integrations, APIs, and metadata mapping
For OptimiDoc–SharePoint metadata mapping, you typically need the internal name.
Using the SharePoint UI
-
Open the SharePoint document library
-
Click Settings (⚙️) → Library settings
-
Under Columns, click the column you want
-
Look at the URL in your browser
-
The internal name appears after
Field=in the URL
-
Example:
Field=Invoice_x0020_Number
➡️ The internal column name is:
Invoice_x0020_Number
SharePoint access authorisation
Once you create a workflow with a SharePoint destination, the access must be authorised.
-
Click the Authorisation button:
-
User‑specific authorisation – In the user’s Digital Workplace, find the widget named Private destinations to complete the authorisation by click at SharePoint icon.

-
Global or admin consent authorisation – In the list of workflows, select the workflow and click the Authorise destination button

-
OptimiDoc Cloud opens the Microsoft web page for granting access.
-
Login by you creadentials:
-
To confirm the authorisation, click the Accept button.
-
OneDrive Business access is now fully authorised.