-
Open the OptimiDoc Partner Portal and log in.
-
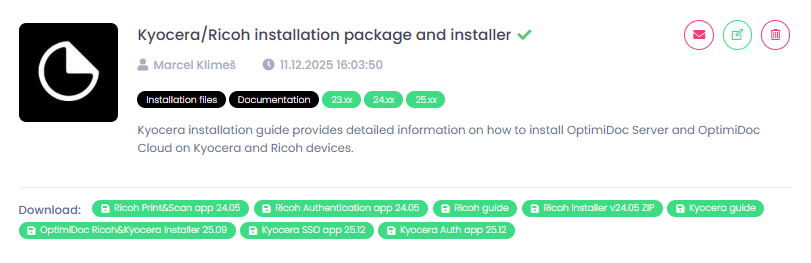
Go to section InfoHub > OptimiDoc Cloud and search for Ricoh installer.
-
Download OptimiDoc Ricoh&Kyocera Installer.
-
Install the .msi package.
The default installation folder is:
C:\Program Files\OptimiDoc s.r.o\OptimiDoc Terminal Installer
-
Run “terminalDeploy.exe” from the above-mentioned folder.
-
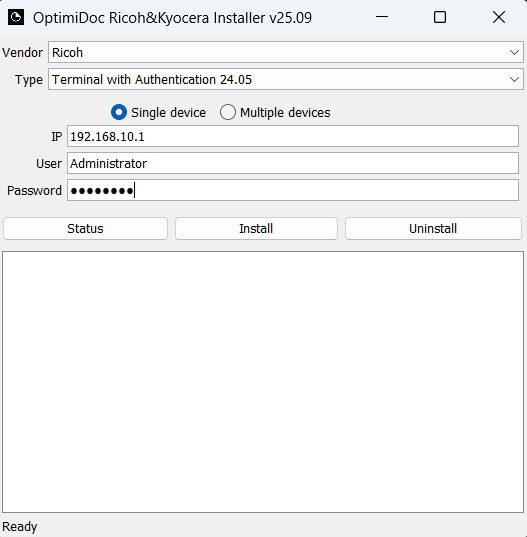
In the vendor field, select Ricoh.
-
In the type field, you can choose between:
A) OptimiDoc Terminal - installs only the print&scan application.
B) Terminal with Authentication - installs both the authentication and print&scan applications.
-
A) Single device - select this option if you want to install on only one device.
B) Multiple devices - select this option if you want to install on multiple devices at the same time. In the case of multiple devices, it is necessary to upload a .csv file containing the IP address of the device and login details for the machine.
Example (the header is required):
ip,user,password
192.168.10.1,Administrator,Password123
192.168.10.2,Administrator,Password123
-
In the IP field, enter the IP address of the device where you want to install the application.
-
Enter the device login name to the User field.
-
Enter the device password to the Password field.
-
A) Status - Checks whether the OptimiDoc application is installed on the device.
B) Install - Installs the selected application(s).
C) Uninstall - Uninstalls the selected application(s).
After completing the installation, it is recommended to restart the device and wait 2-5 minutes after booting up for all service programs to load.