This section shows how to configure the authentication application. If you do not want to lock the device, proceed to the print&scan application configuration section (Ricoh - Print&Scan application configuration).
-
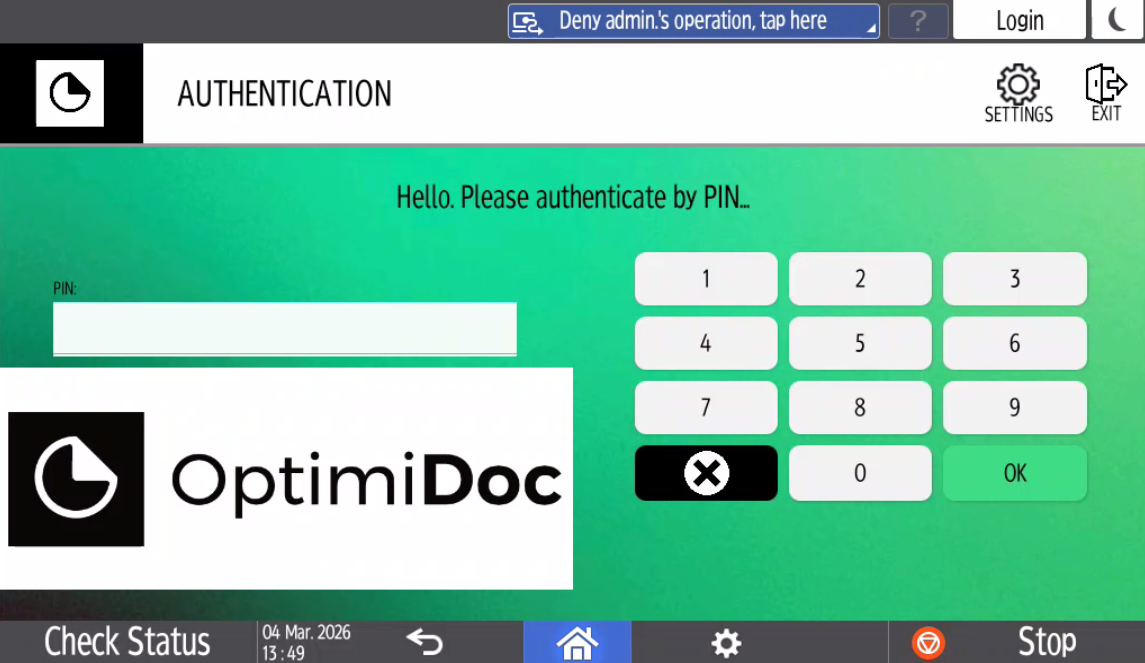
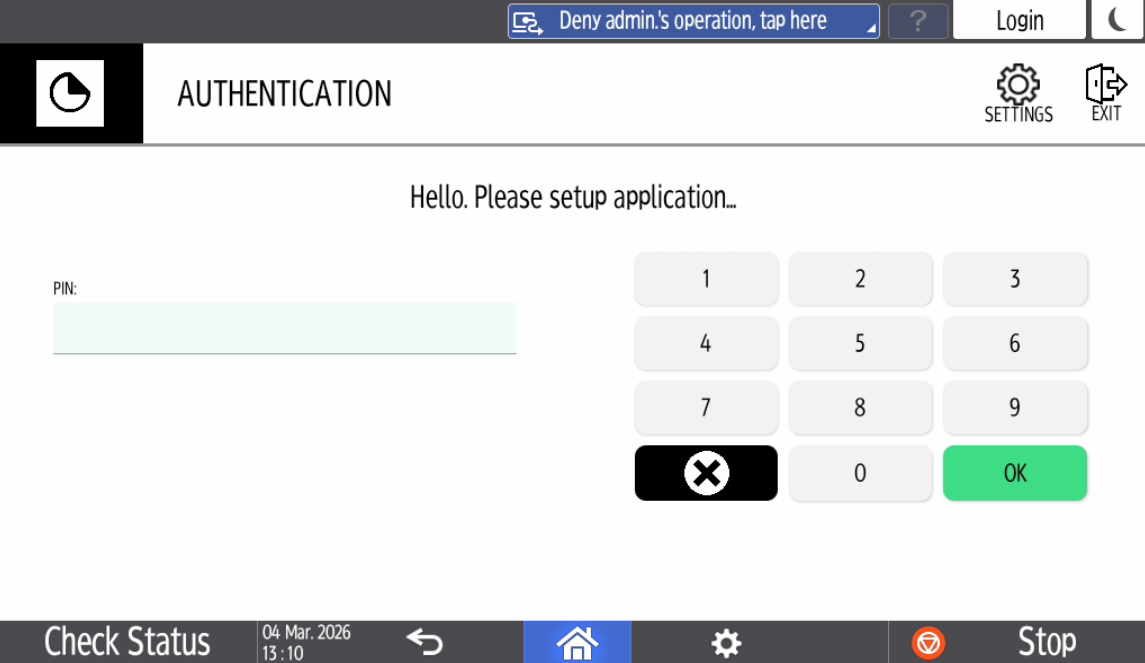
If you have installed the authentication application and restarted the device, the OptimiDoc screen will appear automatically after turning it on.
-
Click the Settings button in the upper right corner of the application.
-
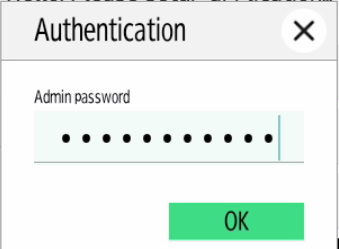
A pop-up window will open. Enter the admin password (the default OptimiDoc admin password is device serial number) and click OK.
-
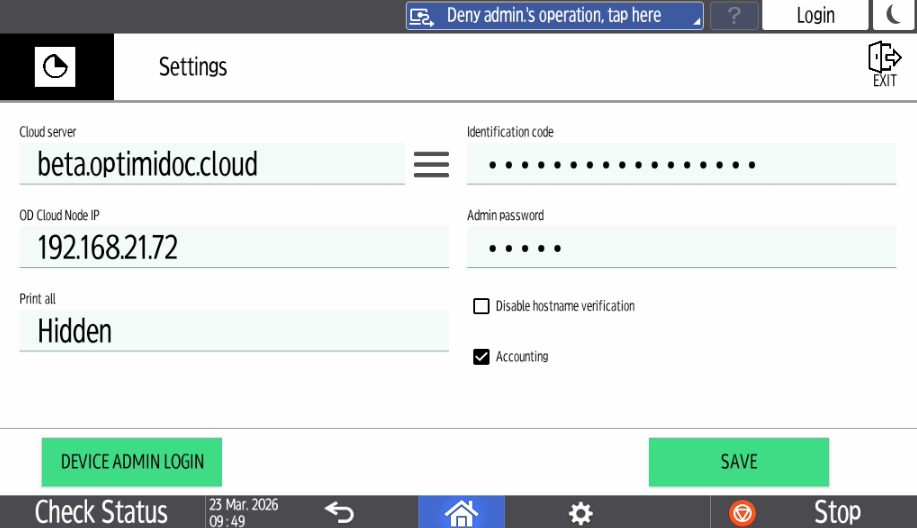
Enter the configuration:
-
Cloud server - select the requested date centre. List of datacenters is here: Geolocations of Datacentres
-
Identification code - unique tenant’s code available at OptimiDoc Cloud Administration Portal. ID code can be found on the OptimiDoc Cloud portal. Once logged in, navigate to the Admin console > Dashboard > Identification code widget and click show value.
-
OptimiDoc Cloud Node - if you have registered an OCN or RPi, enter its IP address in the field.
-
Admin password - password to enter the OptimiDoc app settings.
-
e. Print all - Applies only to OCN spooler.
i) Hidden - The Print All field will not be displayed, and no documents from the OCN spooler will be printed automatically after logging in.
ii) Displayed (Yes) - The Print all field will appear below the PIN entry field and the default value will be set to "Yes", so that all user documents from the OCN spooler will be printed after login. The value can be changed to "No" before logging in.
iii) Displayed (No) - The Print all field will appear below the PIN entry field and the default value will be set to "No", so that no user documents from the OCN spooler will be printed after logging in. The value can be changed to "Yes" before logging in.
f. Disable hostname verification - Check this box if you want to deactivate all hostname certificates on the device.
g. Accounting - Check the box if you want the operations to be accounted to the cloud portal.
h. Device Admin Login - Allows administrator login to the device directly from the application.
i. Exit - Temporarily leaves the configuration section and returns to the default section of the authentication application. Temporary changes made within the application configuration will not be deleted.
-
Click SAVE.
-
Enable the MFP: OptimiDoc Cloud application enablement.
-
Log in using your PIN. If you would like to log in with a card, you must configure the card reader.
Card reader configuration:
OptimiDoc Authentication application supports Elatec and inePro card readers.
To configure a card reader, exit OptimiDoc Authentication application and navigate to User tools → Login → System settings → Screen Features → Screen Device Settings → IC Card/Bluetooth Software Settings → Select IC Card Reader → Proximity Card Reader → "Connect card reader" → OK → Logout → Reboot the MFP.
Swipe card only from the OptimiDoc Authentication application (screen below).