This section shows how to configure the print&scan application.
-
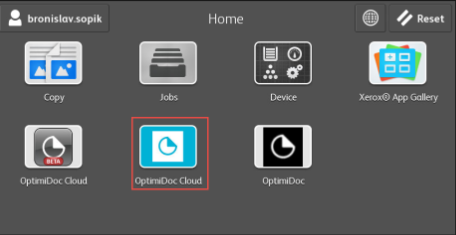
Open the OptimiDoc Print&Scan application from the native menu.
-
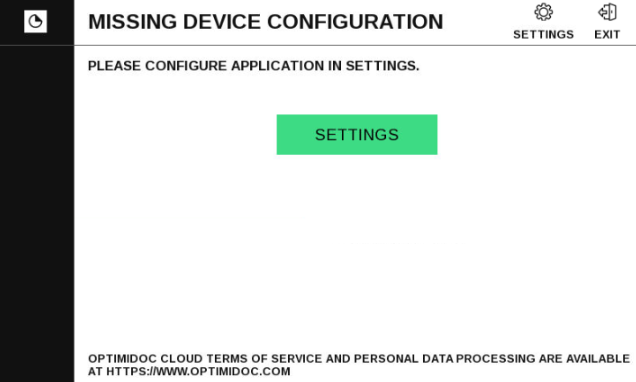
Click the Settings button in the upper right corner of the application.
-
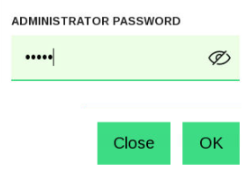
A pop-up window will open. Enter the admin password (the default OptimiDoc admin password is device serial number) and click OK.
-
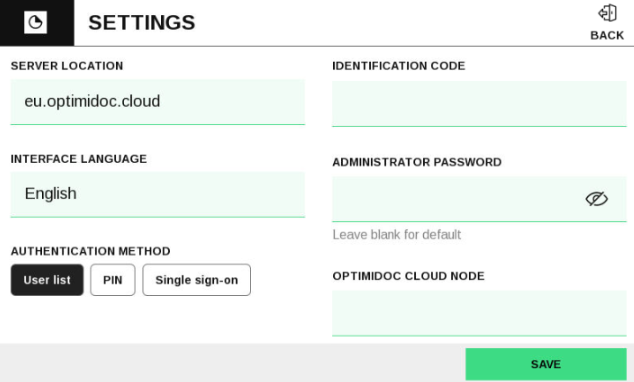
Enter the configuration:
-
Server location - select the requested date centre. List of datacenters is here: Geolocations of Datacentres
-
Interface language - select the application language. List of supported languages is here: https://optimidoc.atlassian.net/wiki/x/swAQ
-
Authentication method - the method by which the user authenticates to the print&scan application.
i) PIN - the user authenticates themselves using their PIN, which they have set up on the cloud portal.
ii) User list - a list of users within the tenant on the cloud portal will be displayed. The user logs in by clicking on their name from the list.
iii) Single sign-on - is used in combination with an authentication application (OCN). When a user logs into the device using the authentication application (OCN), their credentials are transferred to the print&scan application and they do not need to log in again. When the print&scan application is opened, the user who authenticated to the device is automatically logged in.
-
d. Identification code - unique tenant’s code available at OptimiDoc Cloud Administration Portal. ID code can be found on the OptimiDoc Cloud portal. Once logged in, navigate to the Admin console > Dashboard > Identification code widget and click show value.
e. Administrator password - password to enter the OptimiDoc app settings.
f. OptimiDoc Cloud Node - if you have registered an OCN or RPi, enter its IP address in the field, so the print spooler is visible after login.
g. Back - Temporarily leaves the configuration section and returns to the default section of the authentication application. Temporary changes made within the application configuration will not be deleted.
-
Click SAVE.
-
Enable the MFP: OptimiDoc Cloud application enablement.
OptimiDoc as default application after login:
Xerox AltaLink:
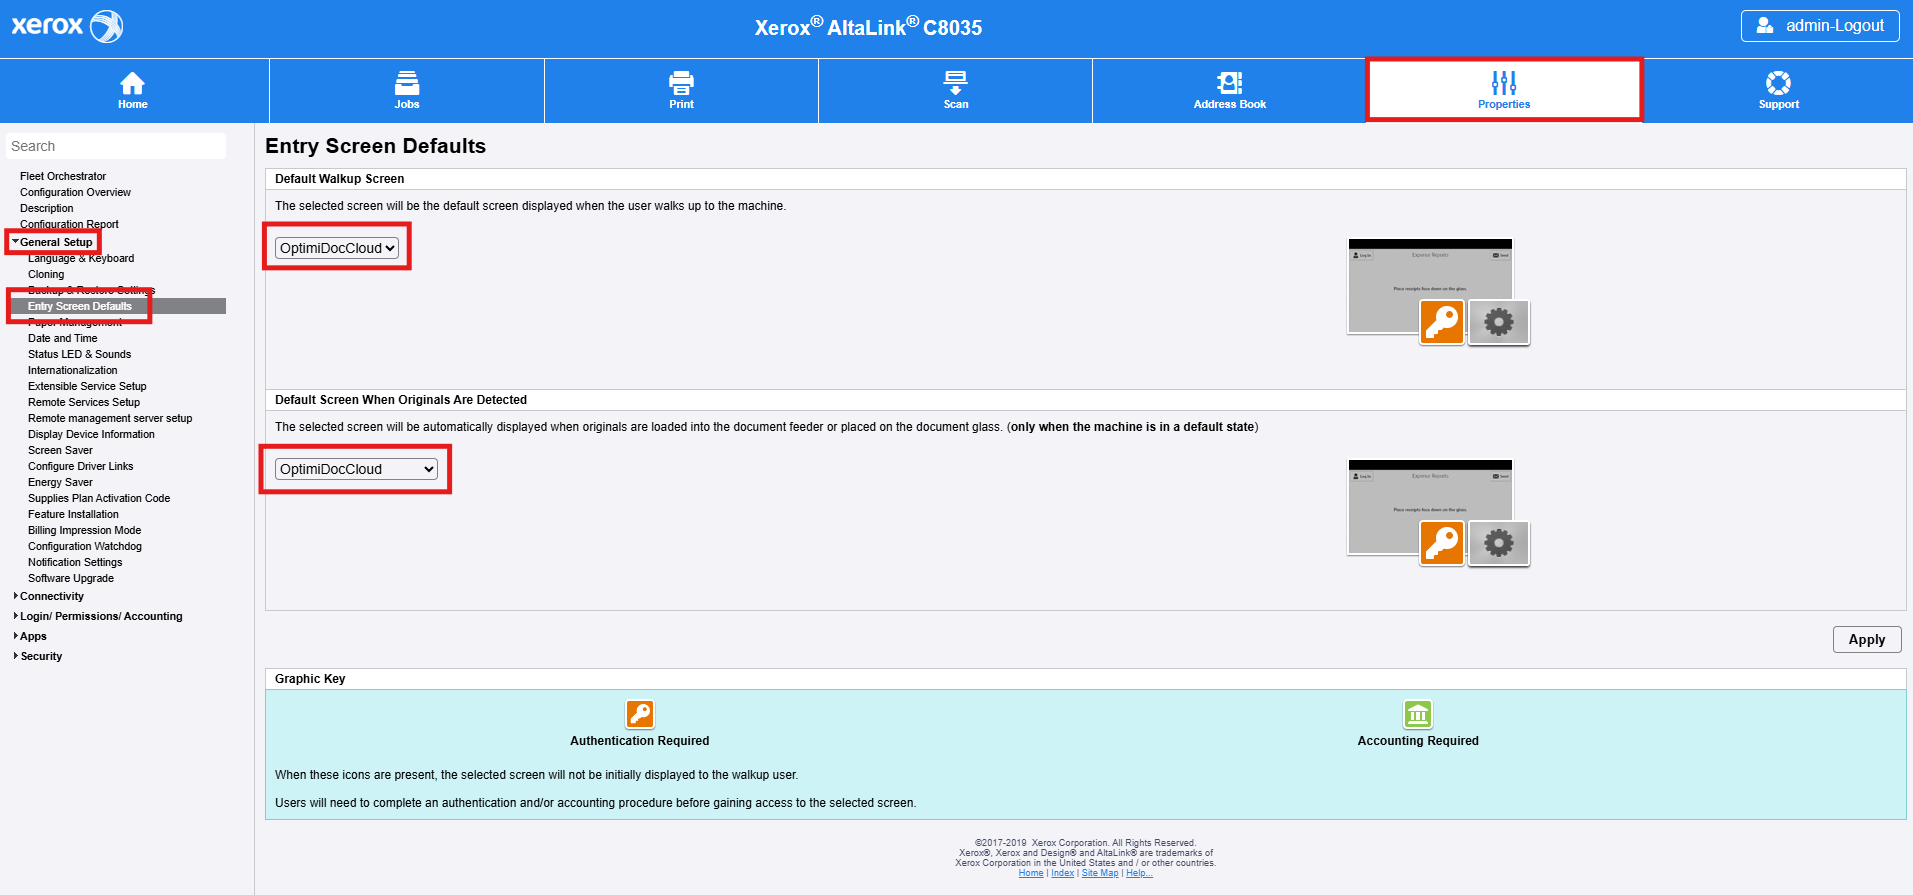
Log in to the device web interface as an administrator and navigate to Properties > General Setup > Entry Screen Defaults and select OptimiDocCloud for Default Walkup Screen as well as for Default Screen When Originals Are Detected.
Xerox VersaLink:
Log in to the device web interface as an administrator and navigate to Apps > Preferences > Walkup Screen and select OptimiDocCloud.
