To print documents from your workstation, the OptimiDoc Cloud Client must be installed on your computer.
In most cases, the client is deployed automatically by your company administrator through endpoint management.
If the OptimiDoc Cloud Client is not installed on your workstation, you can install it manually.
The installation procedure is described in the following section.
Before First Print with OptimiDoc Cloud
Before you can start printing with OptimiDoc Cloud, you must first sign in to the OptimiDoc Cloud Client on your workstation.
To sign in, you must have an active internet connection to the OptimiDoc Cloud data centre.
Signing In to OptimiDoc Cloud Client
-
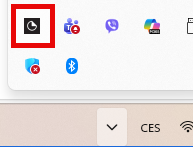
Open the OptimiDoc Cloud Client:
-
Click the OptimiDoc icon in the system tray, or
-
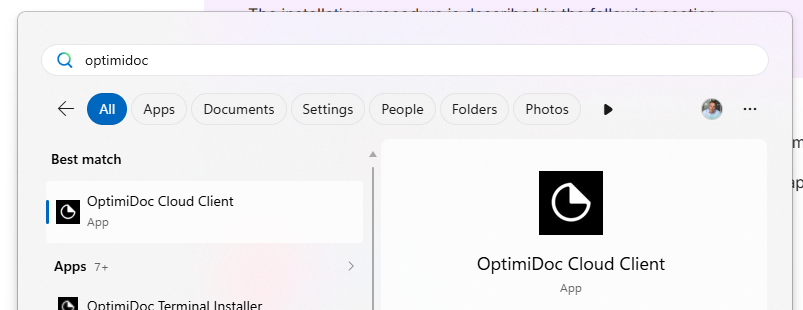
Launch the application from the Start menu.
-
|
|
-
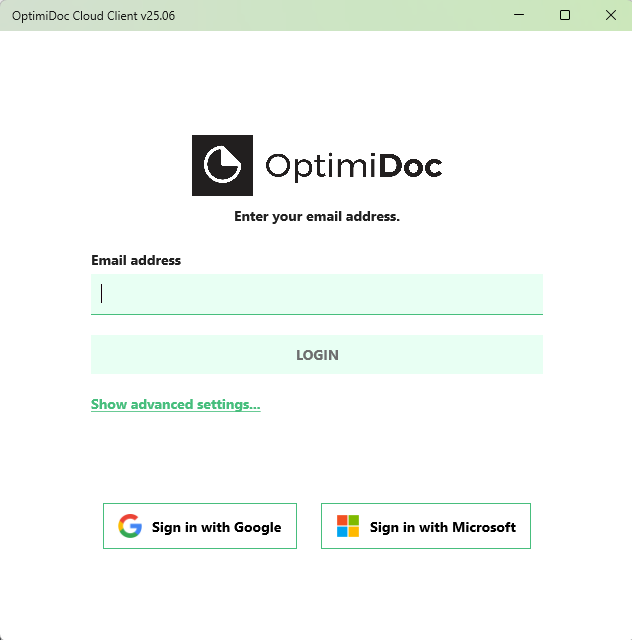
The OptimiDoc Cloud Client authentication screen appears.
-
Sign in using one of the available methods:
-
Email and one‑time password (OTP)
When you choose Email and one‑time password (OTP) as your sign‑in method, OptimiDoc Cloud uses a secure, password‑free authentication process.-
Enter your email address on the OptimiDoc Cloud Client login screen and click Login.
-
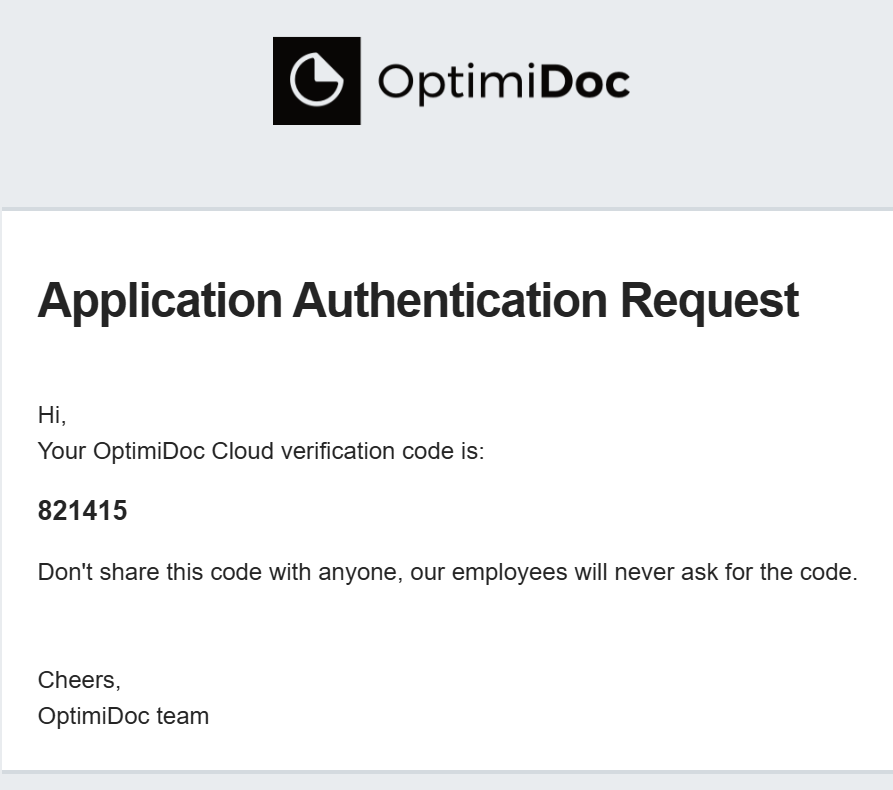
A one‑time password (OTP) is immediately sent to your email address.
-
Enter the received OTP into the login screen to complete the sign‑in process.
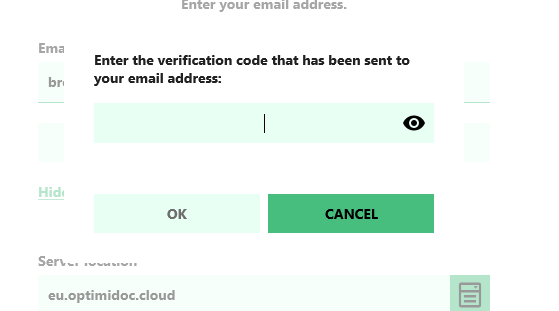
The OTP is valid for a limited time and can be used only once. This method ensures secure access without the need to remember a permanent password.
-
-
If you do not receive the OTP email, check your spam folder or contact your company administrator.
-
-
Sign in with Google
When you choose Sign in with Google, you can authenticate using your Google or Google Workspace account.-
Click Sign in with Google on the OptimiDoc Cloud Client login screen.
-
You will be redirected to the Google sign‑in page.
-
Select your Google account or enter your credentials.
-
Accept the authorisation request if prompted.
-
-
Sign in with Microsoft
When you choose Sign in with Microsoft, you can authenticate using your Microsoft work or personal account.-
Click Sign in with Microsoft on the OptimiDoc Cloud Client login screen.
-
You will be redirected to the Microsoft sign‑in page.
-
Enter your Microsoft account credentials (email and password, or approved sign‑in method).
-
Complete any additional verification required by your organisation (for example, multi‑factor authentication).
-
-
Once successfully signed in, the OptimiDoc Cloud printers and spoolers become available on your workstation, and you can start submitting documents for printing.
Printing with OptimiDoc Cloud
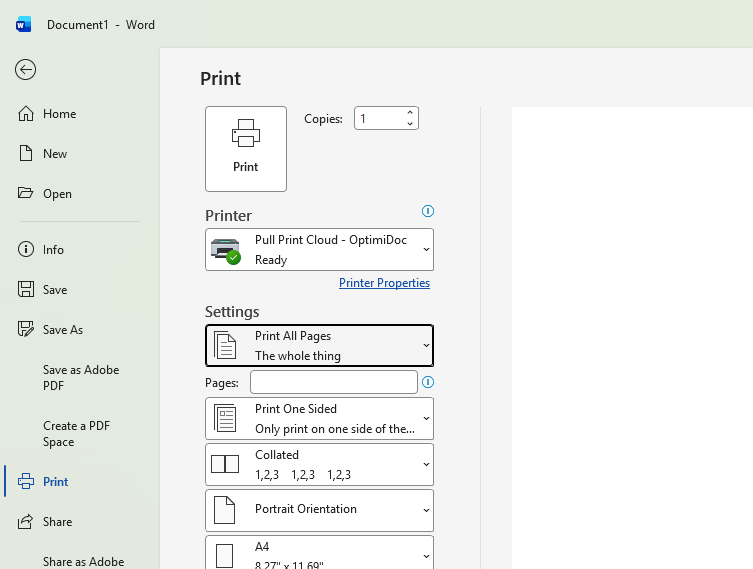
The OptimiDoc Cloud Client automatically installs the required printers and print drivers on your workstation. No manual driver setup is needed.
To submit a document for printing—either to a secure pull‑print queue or for direct printing on a specific device—simply use the standard printing functionality of your operating system, just as you would with any physical printer.
Once printed, the document is securely delivered to OptimiDoc Cloud and can be released at an authorised device according to your company’s configuration.
Print Delivery Failure
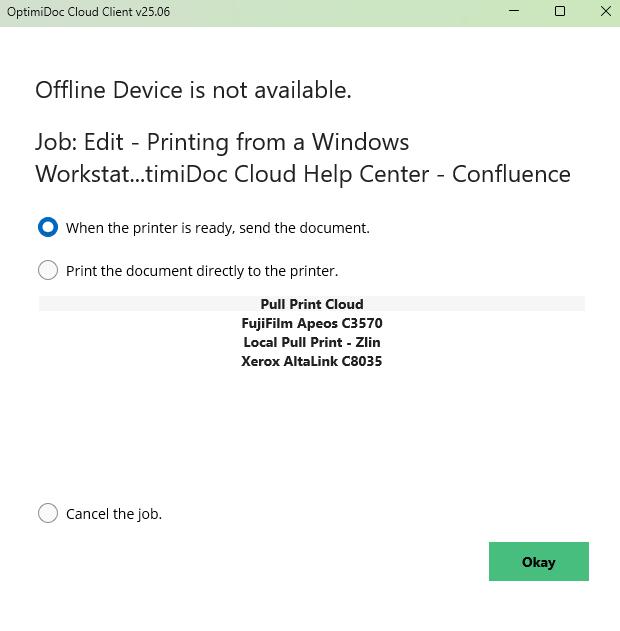
If a print job cannot be delivered successfully to the Pull Print queue or directly to a printer, you will be notified and a pop‑up window will appear with available options.
Available Options
When a delivery failure occurs, you can choose one of the following actions:
-
Wait until the connection is restored
The document will remain pending and will be delivered automatically once the connection is available again. -
Send the document to another device or Pull Print queue
Allows you to select a different printer or virtual pull‑print queue for delivery. -
Cancel the job
Cancels the print job and removes it from the queue.
These options allow you to decide how to proceed based on your current network availability and printing needs.
OptimiDoc Cloud Client configuration
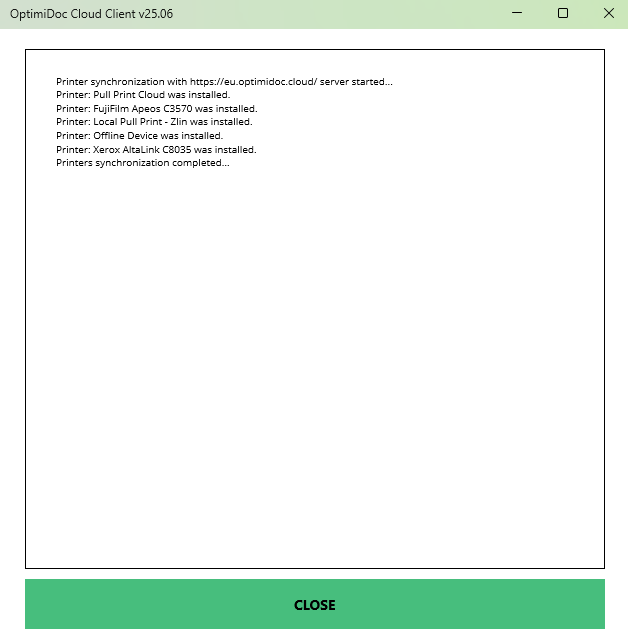
Once you are successfully logged in, the OptimiDoc Cloud Client is minimised to the system tray, and printer synchronisation starts automatically. From this point, OptimiDoc Cloud printers are available for use.
You can access the following options by clicking the OptimiDoc Cloud icon in the system tray:
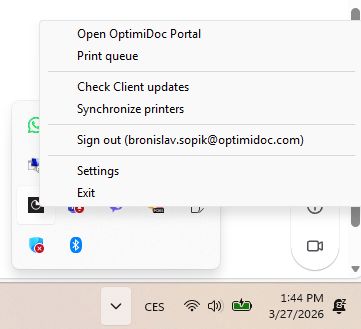
System Tray Menu Options
-
Open OptimiDoc Portal
Opens the OptimiDoc Cloud portal in your web browser. -
Print queue
Opens the OptimiDoc Cloud Client print queue, displaying queued print jobs, for example when no connection is available. -
Check Client updates
Forces the OptimiDoc Cloud Client to check for available updates. -
Synchronize printers
Starts a new printer synchronisation. This is useful if your company administrator has added a new printer or virtual spooler.
Printer synchronisation runs automatically after the first login and periodically based on system settings. -
Sign out
Signs out the currently logged‑in user. -
Settings
Opens the application window with client configuration options. -
Exit
Closes the OptimiDoc Cloud Client.