This section describes how to install the OptimiDoc Cloud Client (OCC) on a MacOS workstation.
Step 1 - MacOS prerequisites
-
The device is running a macOS Big Sur + higher.
-
The user has local administrator privileges or a local user with admin rights exists.
-
The workstation has internet connectivity to the OptimiDoc Cloud datacentre.
-
HTTPS (TCP 443) communication is allowed.
Step 2 - OCC installation
-
Launch the OCC MSI installer.
-
Start the installation and wait until it completes.
You can find the OptimiDoc Cloud Client Logs at…
OptimiDoc Cloud Client Logs: \users\<username>\library\caches\metrologs or ~/Library/Caches/OptimiDoc/Metrolog.
Service Logs: /etc/Library/Frameworks/OptimiDoc/Printer DriverService/Logs
After completion, the OptimiDoc Cloud Client will be installed and ready for first time use.
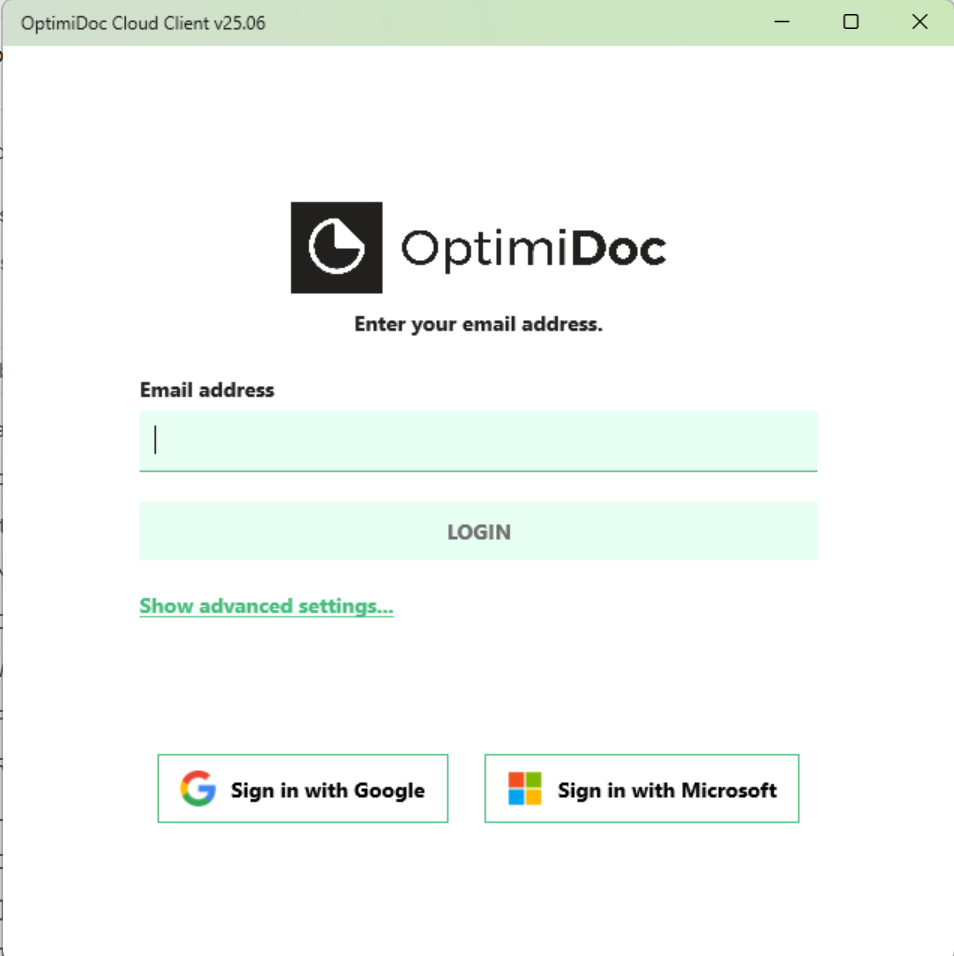
Step 3 – First launch and authentication
-
Start the OptimiDoc Cloud Client.
-
Sign in using one of the available authentication methods:
-
Email and one‑time password (OTP)
-
Google sign‑in
-
Microsoft sign‑in
-
-
During the first launch, the client:
-
establishes a secure connection to OptimiDoc Cloud,
-
registers the workstation,
-
downloads initial configuration data,
-
deploys partners based on authorised user rights.
-
More information about OCC usage could be found in OptimiDoc Cloud - End-User Guide
Step 4 – Verify client registration
-
Open the OptimiDoc Cloud administration portal.
-
Navigate to Device Management → OptimiDoc Cloud Clients.
-
Confirm that:
-
the workstation is listed,
-
the correct user is assigned,
-
the client version is displayed.
-