OptimiDoc Cloud Node (OCN) – System and Hardware Requirements
Supported Operating Systems
The OptimiDoc Cloud Node runs on systems that support .NET 8.
Hardware Requirements
The minimum hardware requirements correspond to the .NET system requirements:
https://learn.microsoft.com/en-us/dotnet/framework/get-started/system-requirements
When using minimum specifications, consider disk space carefully, as print jobs are stored locally.
Recommended hardware configuration:
-
Dual‑core CPU, 2.5 GHz or equivalent
-
4 GB RAM
-
At least 20 GB of free disk space (or more, depending on customer requirements)
-
LAN network connection
Installation
-
Download the latest OCN installation package from the OptimiDoc Partner Portal.
-
Run the downloaded MSI package.
-
Follow the installation wizard.
The default installation path is:
C:\Program Files (x86)\OptimiDoc Cloud Node
Initial Configuration and Registration
-
After the installation is complete, open a web browser and navigate to:
https://localhost:443
(The interface is also accessible using the workstation or server IP address on port 443 by default.) -
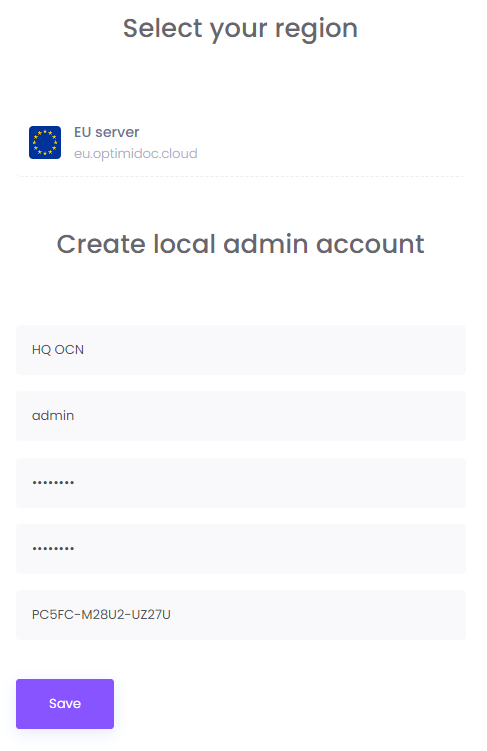
Continue with the OCN registration:
-
Select the appropriate datacentre / region
-
Create the OCN administrator account
-
-
Save the basic settings.
Registering the OCN in OptimiDoc Cloud
-
Continue with the registration on the OptimiDoc Cloud side.
-
Edit the newly registered OCN and configure the following:
-
Set the location (used for filtering purposes)
-
Enable the OCN
-
Assign the Site to allow direct and mobile printing for the selected site
-
-
Save the general configuration.
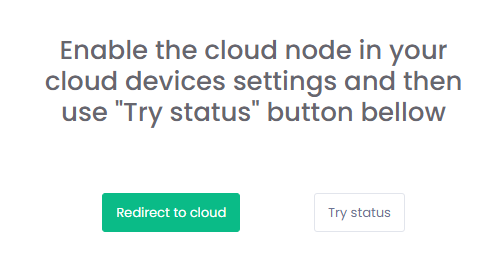
Verification
After saving the configuration:
-
Selecting Try Status displays the OCN login screen.
-
The OCN appears as enabled in the device list.